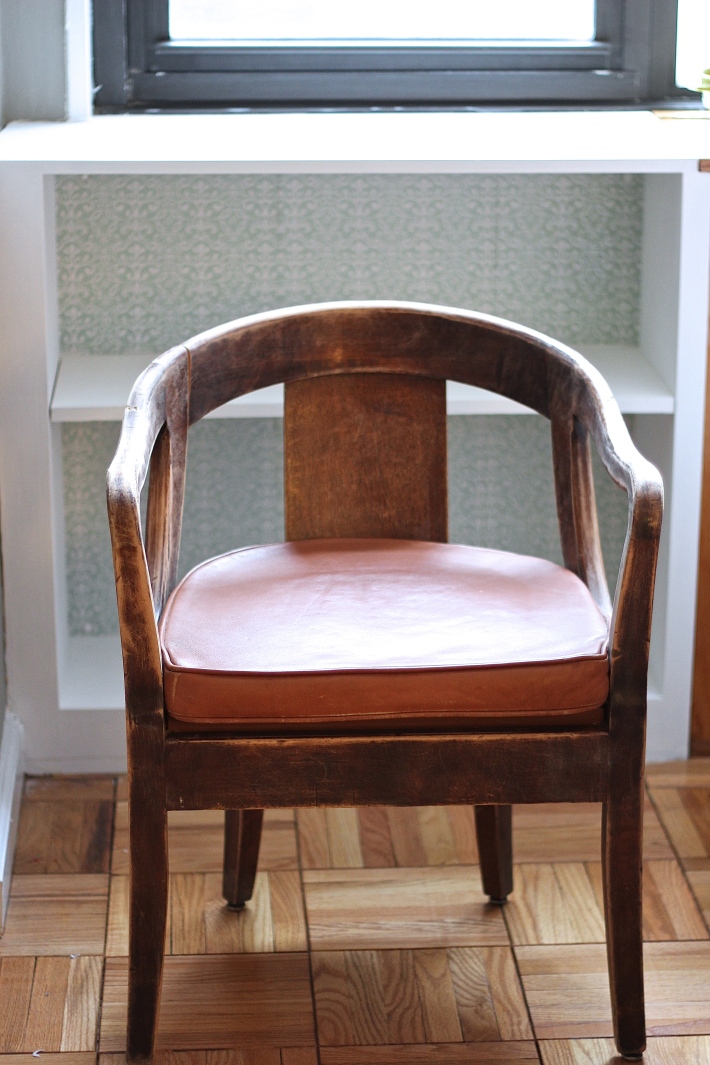
Day 3 turned out to be a pretty routine day for me. One minute, I’m trying to decide between clotted cream or lemon curd to spread on my scone (I ended up doing both) during high tea at The Crosby in Soho. And the next? I’m dumpster diving. In my heels. Okay, maybe I’m exaggerating a bit since there was no actual dumpster involved. Here’s the story: My sister and I were walking along 3rd Avenue when I spotted a pile of discarded furniture outside of Vintage Thrift, so we crossed the street to have a look. Nothing was really worth lugging home, except for this chair. Absolutely love the lines of this piece. It just needed a few coats of paint and someone to get rid of that awful pleather cushion cover. So, we picked it up and dragged it home.
Once we got back, I noticed that there was a slight separation between two of the joints in the chair. To fix this, I dabbed a little wood glue to either end, pressed down and held it in place with a makeshift clamp. It was, by no means a fancy contraption. I just used a very heavy textbook and the laws of gravity to hold the joints together. Once that was done, I sanded down the entire chair and wiped it down with a damp cloth. Next, came primer…or if you’re too lazy to go buy primer like myself, I just did a base layer of any old white paint lying around. Same thing, if your finish paint is light in color. I think. Don’t quote me on that one.
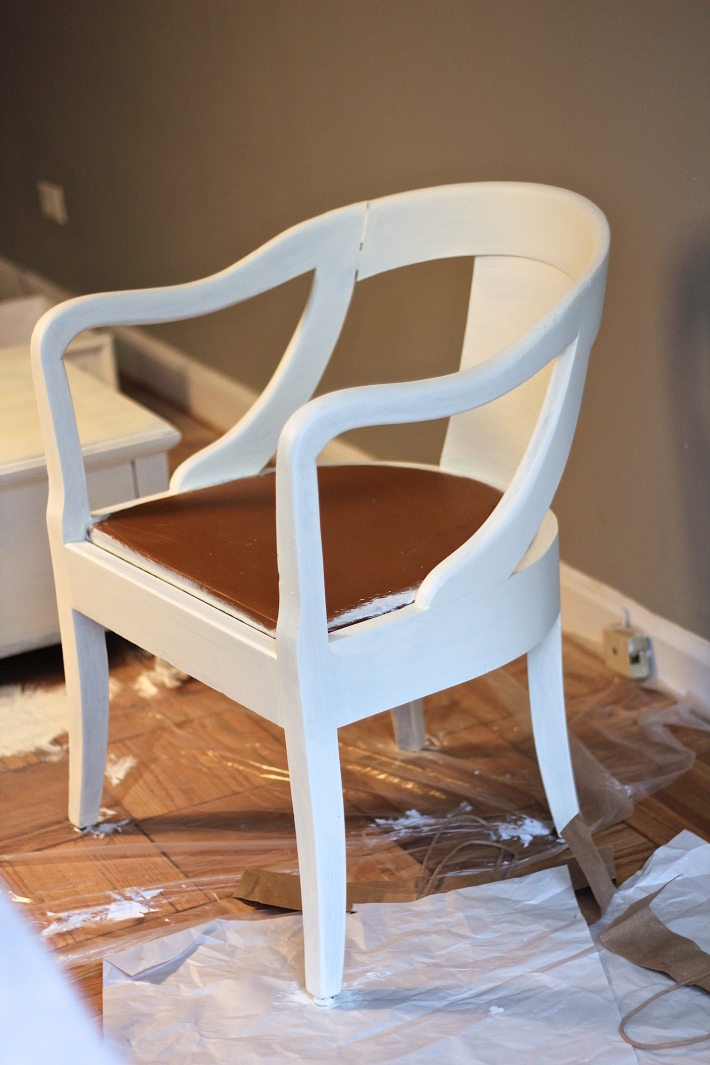
After the chair was dry from the first layer of paint, I figured I should remove the wooden seat bottom before giving it any more paint. You’ll probably want to do this earlier but it really doesn’t matter too much if you’re planning on reupholstering the whole lot like I did. This is the chair after a coat of Behr paint in “Antique White” and a coat of that “Crystal Clear” polyurethane.
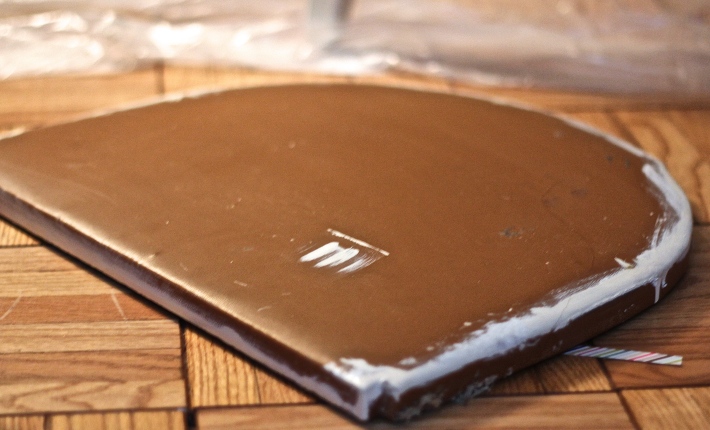
While waiting for that to dry, I turned my attention to the seat bottom itself. There was no way I was going to put that brown pleather, that I half painted, back on the chair.
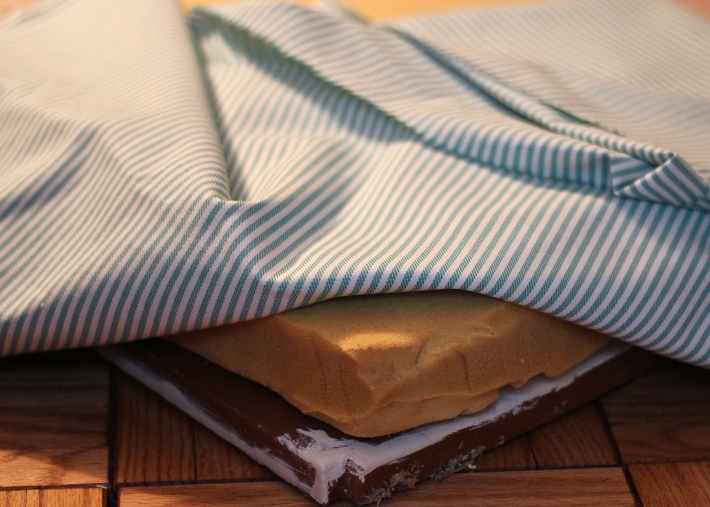
My solution was to strip the pleather cover off of the seat cushion and then place it over the seat bottom. Once I placed the two on top of each other, I used a pair of scissors to trim the cushion down to the size of the seat bottom. Use glue to stick the two together so that it doesn’t move around later. Then I used the striped fabric we had purchased from Tru-Mart to cover the whole thing.
I forgot to pack my staple gun when traveling, so here’s my improvised reupholstery techniques. First, use a quality fabric. They make upholstery fabric for a reason. It will cost substantially more but is worth it since the dense material will take the constant wear and tear of daily use. But if you’re not planning on using it much, then I guess whatever fabric will do. Once you have your fabric, find the correct side, or the side that you want everyone to see. Place that side facing the ground (or another clean, hard surface). Then place the seat bottom plus cushion on top of that. Trim the fabric to the shape of the seat bottom but in a larger scale. You want enough excess fabric to attach to the back of the cushion. After the fabric is trimmed to size, you want to go ahead and attach the fabric to the seat cushion with nails. Get the thin one inch nails that don’t have much of a head. The ones that are in small clear hanging packs at The Home Depot. Use these in lieu of a staple gun. To do so, you want to hold the fabric tight, then hammer the nail halfway down its entire length. Once halfway buried, take your hammer and start hammering the nail on its side until the whole thing is flush with the seat bottom surface. The end result should be a right angle that securely holds the fabric down to the seat bottom. Use as many nails as you need to to get the fabric to rest taut. I think I ended up using at least twenty for this project. I prefer staple guns but this really does work just as well.
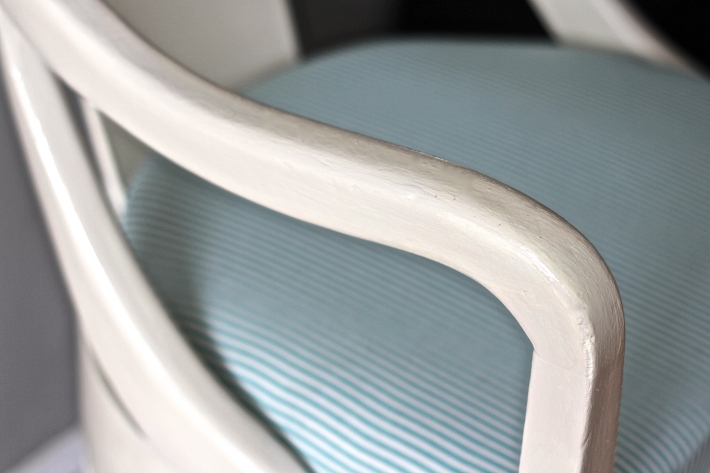
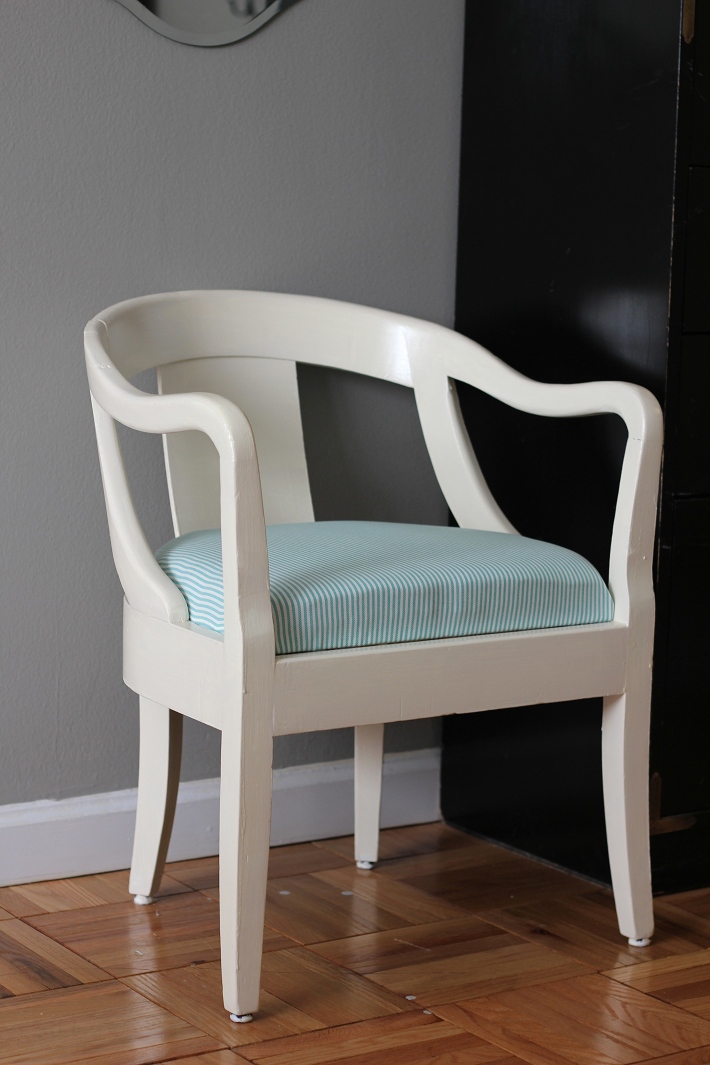
And this is the Dumpster Diving Chair “After”. The bright turquoise fabric choice gives the chair an updated “fun” look, although I’m not sure how a chair has fun.
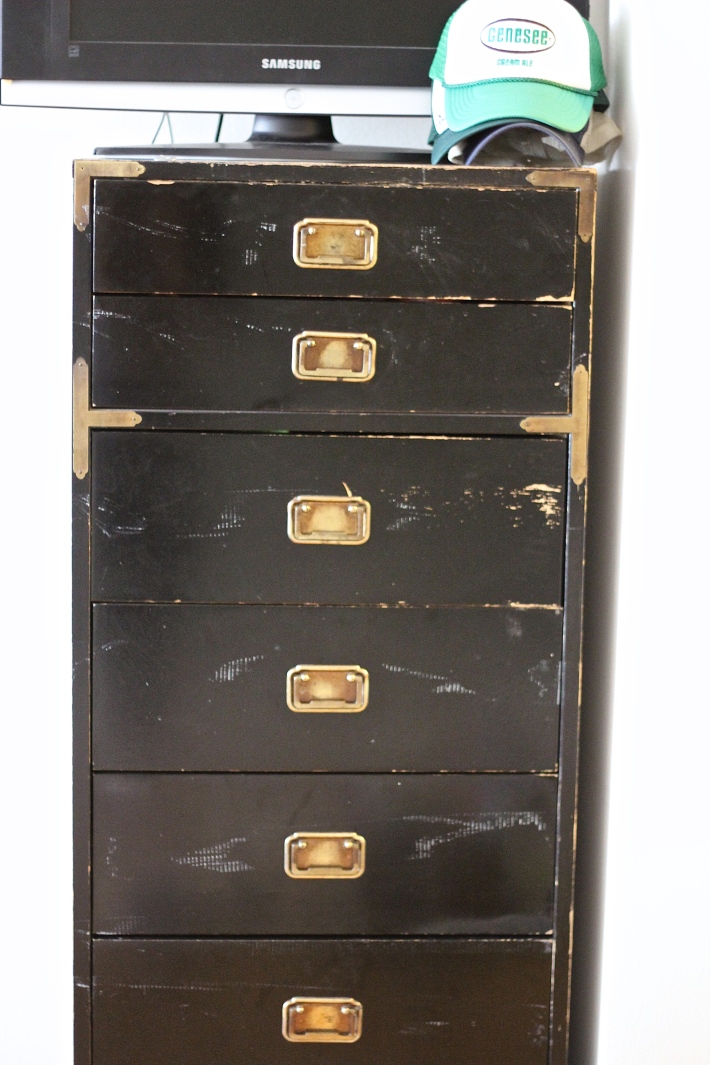
Beside that chair is a black dresser my sister bought years ago for $15, off of Craigslist. The overly gold hardware kind of gives it a Chinese lacquered tea room look that I wasn’t too big of a fan of. But here is the dresser “Before”.
And here are some scrap pieces of off-white paper that I rounded up.
To change the entire look of the dresser, I cut the paper into rectangular pieces measured to the size of the inside of each gold hardware plate. Then I glued it down. The end result was more Restoration Hardware vintage dresser versus something out of a Chinatown attic.
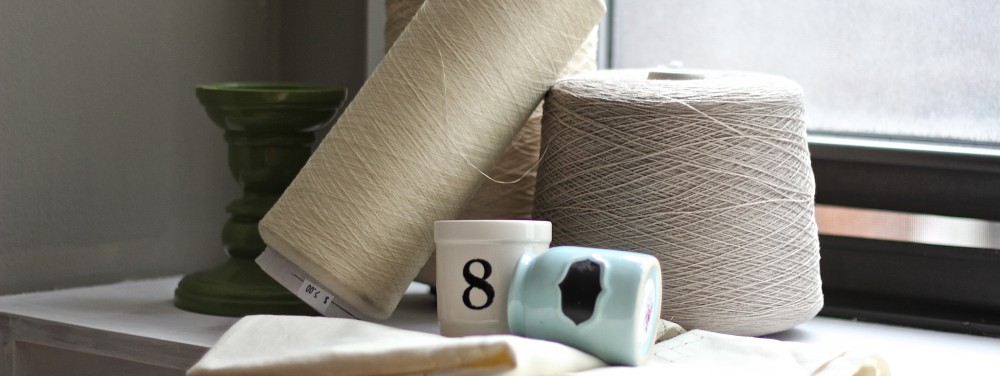
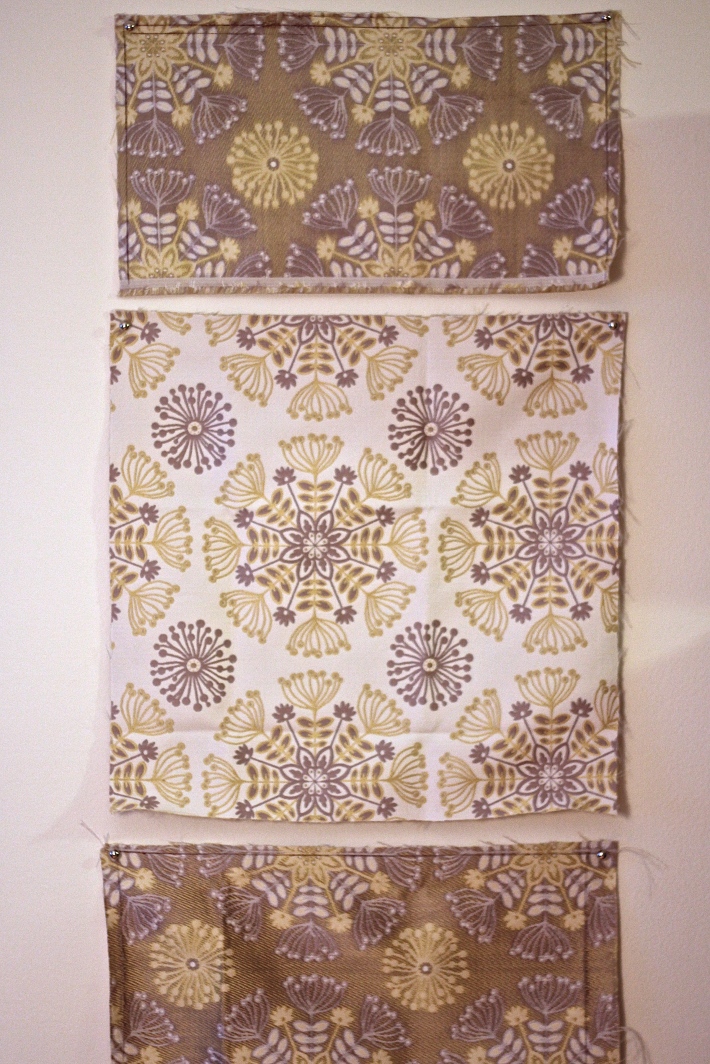
Pillows are pricey. I have no idea why, since they’re so cheap to make. So it should come as no surprise that I was spending the night sewing a pillowcase in my pajamas. Below is the upholstery material I flew in with. It was leftover from another chair reupholstery project.
I took the fabric and measured it to the exact size of the pillow which was 18×18 inches. Then I cut the fabric out in three pieces, leaving a generous centimeter of extra fabric around the perimeter.
This is a really clean way to sew a pillowcase, with no zipper. I’ll show you in a later post how to do it exactly, since it’s a bit detailed. But it’s basically three pieces with the two smaller ones overlapping in the back.
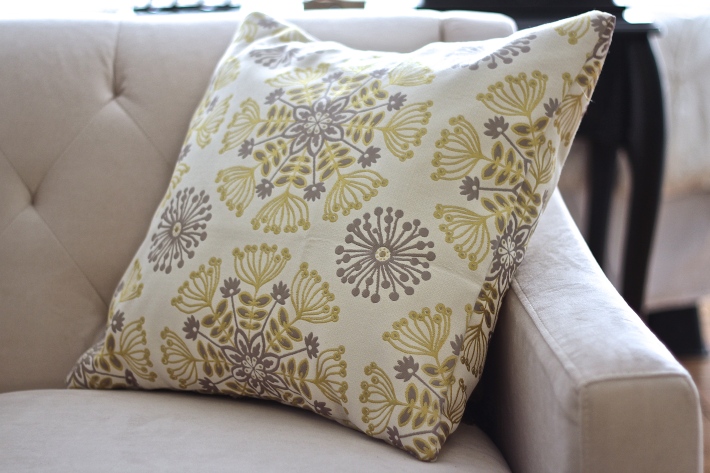
Using a backstitch, I hand sewed the fabric and inserted a pillow my sister already had in her possession to form this. Here is the pillow “After”.
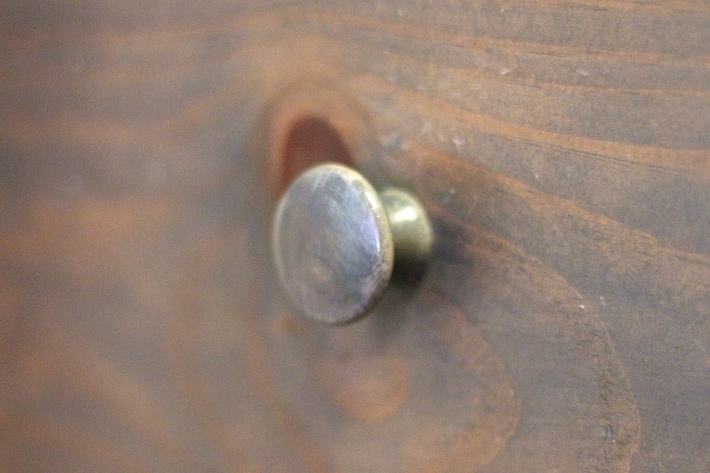
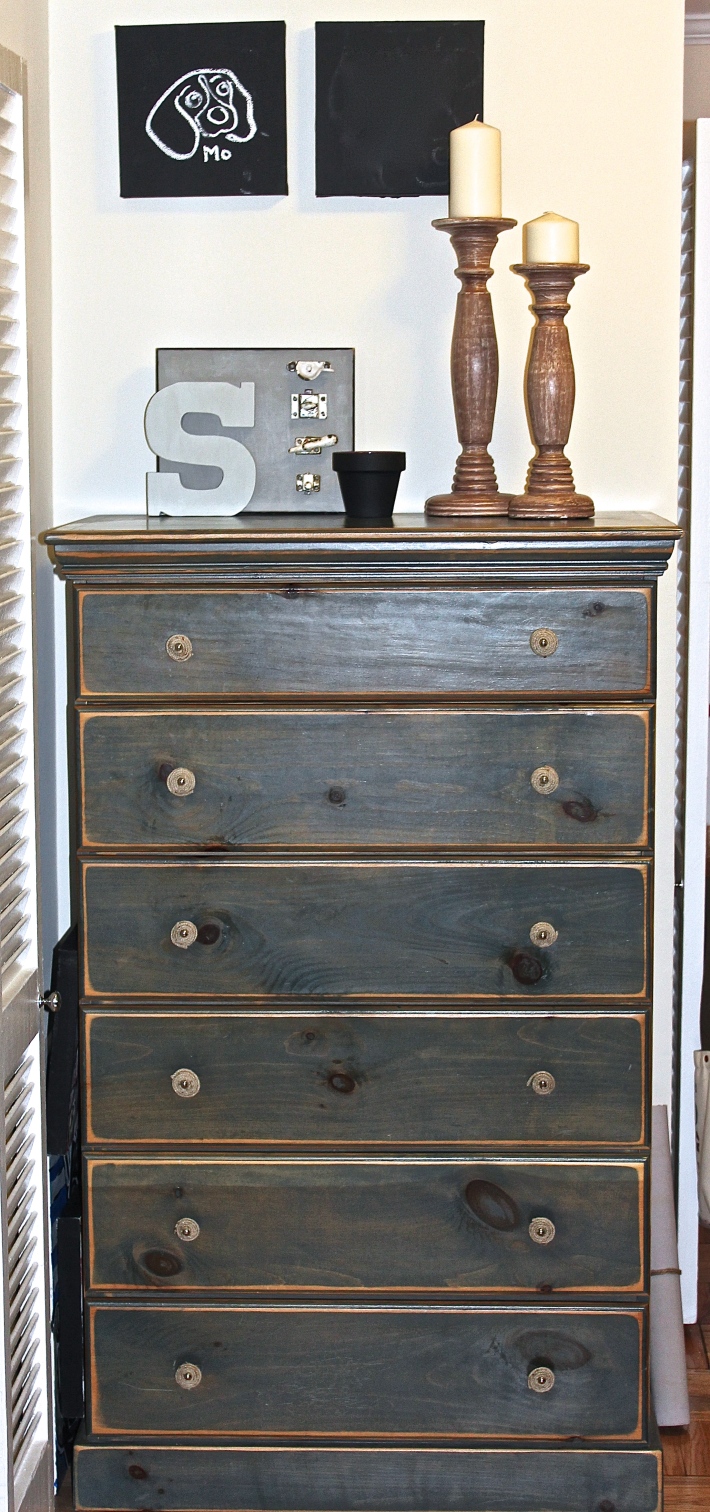
Next, I turned my attention to her green dresser. I liked the color but was not a big fan of the knobs themselves. What I wanted to buy were these rope knotted dresser knobs at Anthropologie for $12 each. With twelve dresser knobs, it seemed a bit frivolous to spend $144 on a dresser’s hardware, so I decided to make my own nautical themed knobs. Here’s what I started off with.
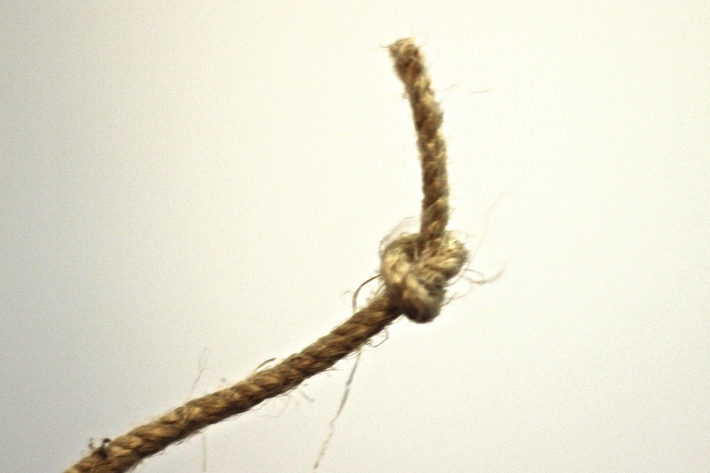
I then took wrapping twine and tied a tight knot into one of the ends, like this.
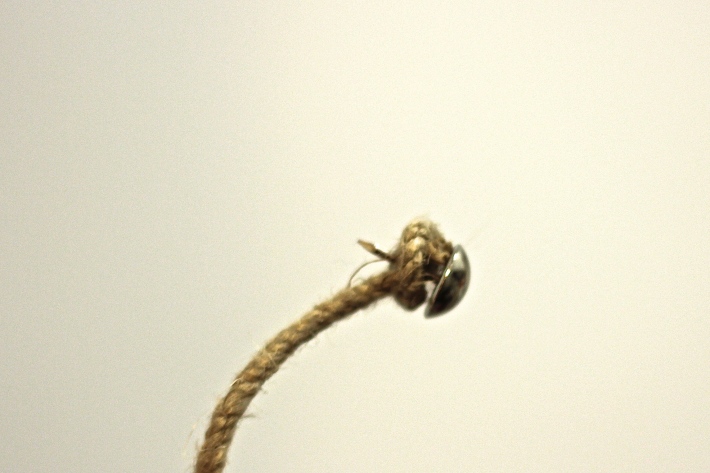
Then you take an upholstery tack and jab it directly into the middle of the knot. Trim off the excess rope. Home Depot sells these tacks in the nails section.
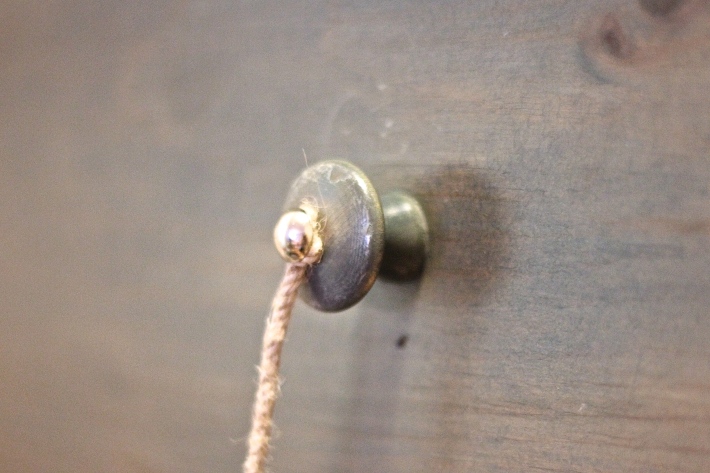
Take that knot and tack contraption and nail it directly into the center of each dresser knob. This will only work with wooden knobs.
Using E-6000 glue, I dabbed on a generous amount of the stuff to adhere the twine to the wood. I wrapped it continuously around the tack until I reached the knob’s outer edge. Then I held it in place with a pin. Take this out when it is completely dry. I recommend E-6000 since it’s my favorite but you can use any heavy duty glue (like Gorilla Glue) as long as it’s easy to peel off of your hands at the end. This project can get a bit messy so please don’t use Super Glue. I haven’t used that stuff ever since it glued together my eyelids…last month. But here’s the end result. It cost about $8 to make when Anthropologie knobs would’ve been $144.
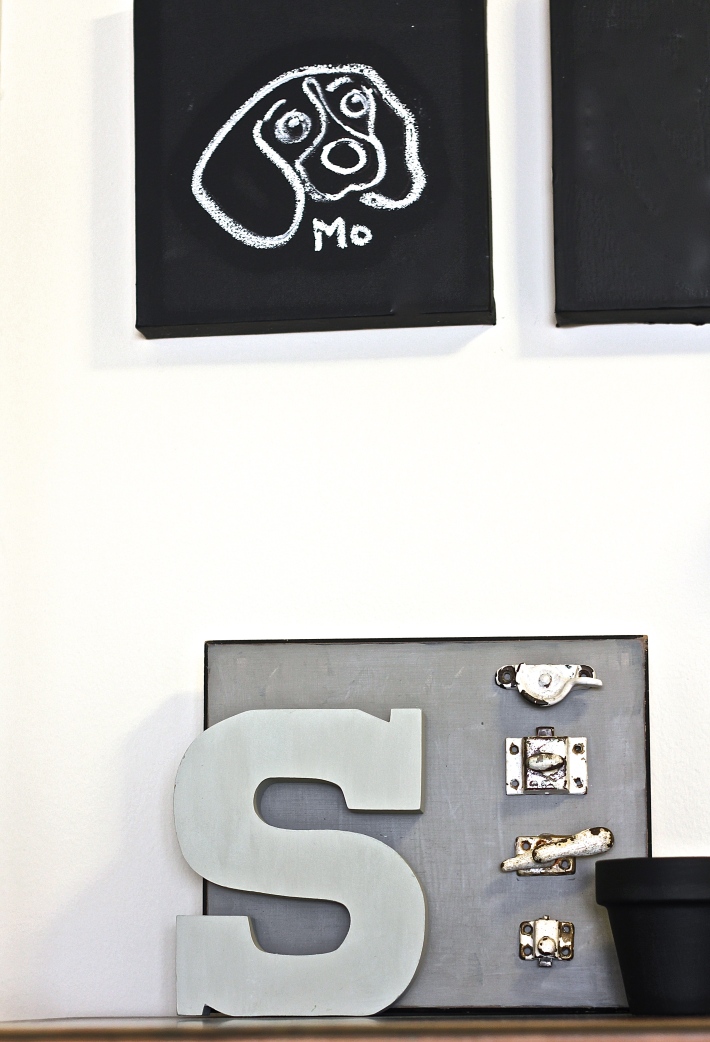
Here’s a close up of some of the things I made on top of the dresser. The “S” letter thing was made with random stuff I found for cheap at an architectural salvage store in Seattle. I think some are actually those window clasps you see in old buildings. The artwork itself was actually canvas she already had. I covered it with chalkboard paint, let dry and then drew on it with a paint pen. It’s Mo, the best dog in the world. According to Mo.
